
In the next paragraphs, we’ll go through how to build and run a MySQL query in phpMyAdmin.
Depending on your personal level of knowledge, you could have other ways of doing the same task.
Credit: the steps below follow SiteGround’s phpMyAdmin query tutorial. Update (November 2026): recent phpMyAdmin versions may look slightly different, and you should always back up your database before running a query that changes data.
Option 1: the SQL tab
This one is for advanced users. Open your database, click the SQL tab, type the whole SQL query and click the Go button to run it.
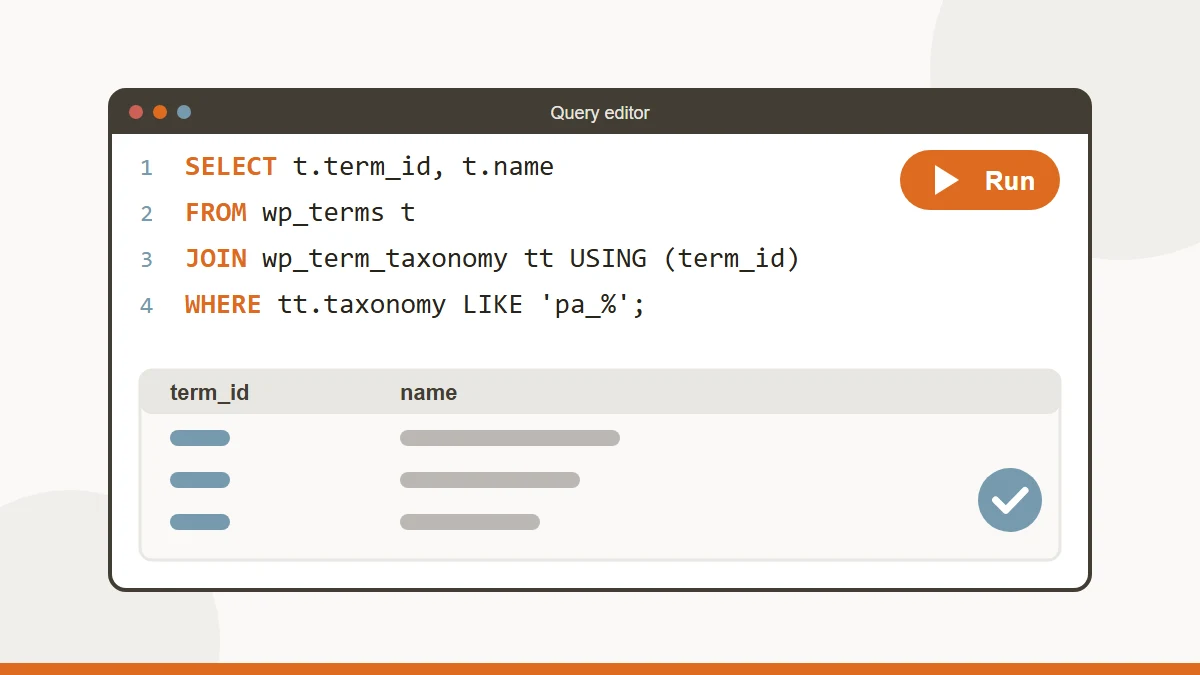
Option 2: the Query tab
This mode gives you some help to build the query visually.
So with this mode, you can set several search conditions, sort and filter the results and query several tables at the same time!
First, pick the tables you need in the Use Tables list. Then, for each column you want in the SELECT statement, choose it in a Field drop-down menu and tick its Show box.
Type your search condition in the Criteria field.
Use the Sort drop-down menu to get the results in ascending or descending order.
The text area below lets you add extra search conditions.
You can add or remove criteria rows with the Ins and Del boxes, or with the Add/Delete Criteria Row menu. Columns work the same way, with their own Ins and Del boxes or the Add/Delete Field Columns menu.
In the Modify section, choose how the conditions are combined (AND or OR).
Click the Update Query button to apply your changes, then the Submit Query button to run the query.
The query in our example is:
SELECT `wp_users`.* FROM `wp_users` WHERE (`wp_users`.`user_login` LIKE “a%”);
It lists all the rows of the wp_users table whose user_login starts with “a” (replace wp_ with your own table prefix).
You can find more details about the MySQL syntax in the official MySQL Documentation.